Discussion Forum - Northstar Chevelle Club

Members Login
Username 
 
Password 
    Remember Me  
Post Info TOPIC: It started out as a windshield replacement


Active Member

Status: Offline
Posts: 141
Date:
It started out as a windshield replacement
Permalink  


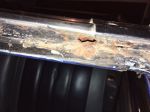
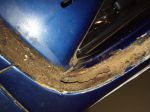
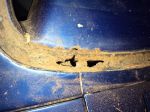
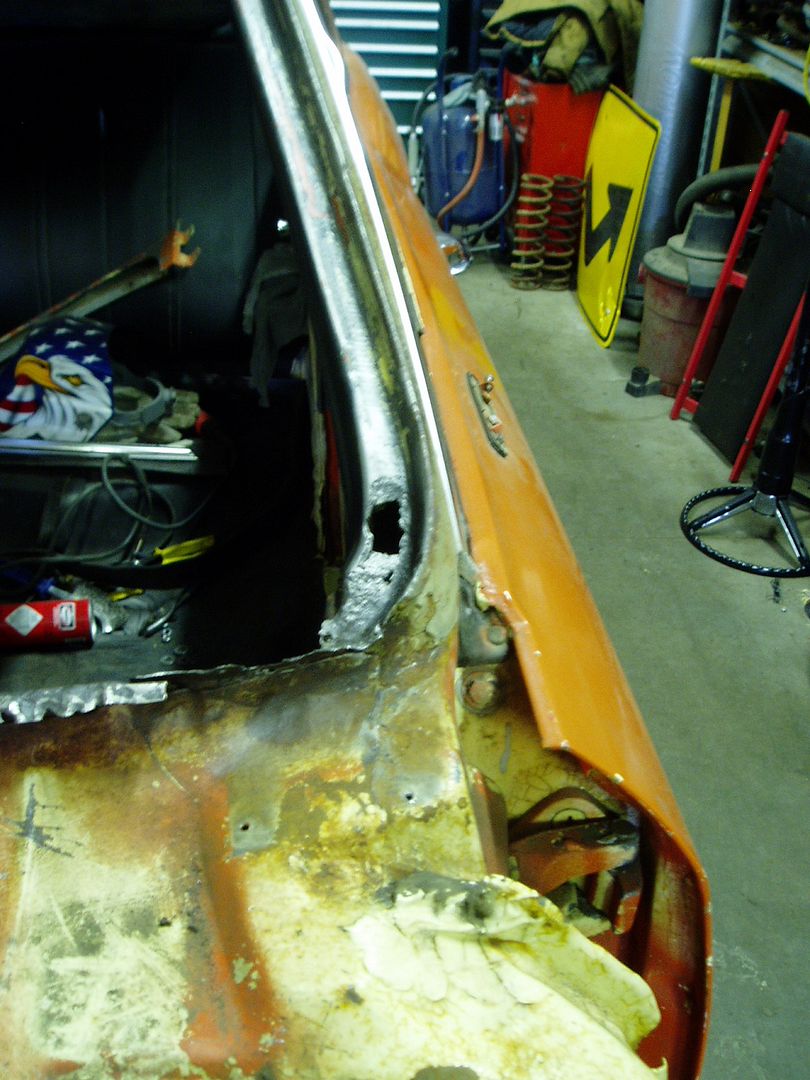
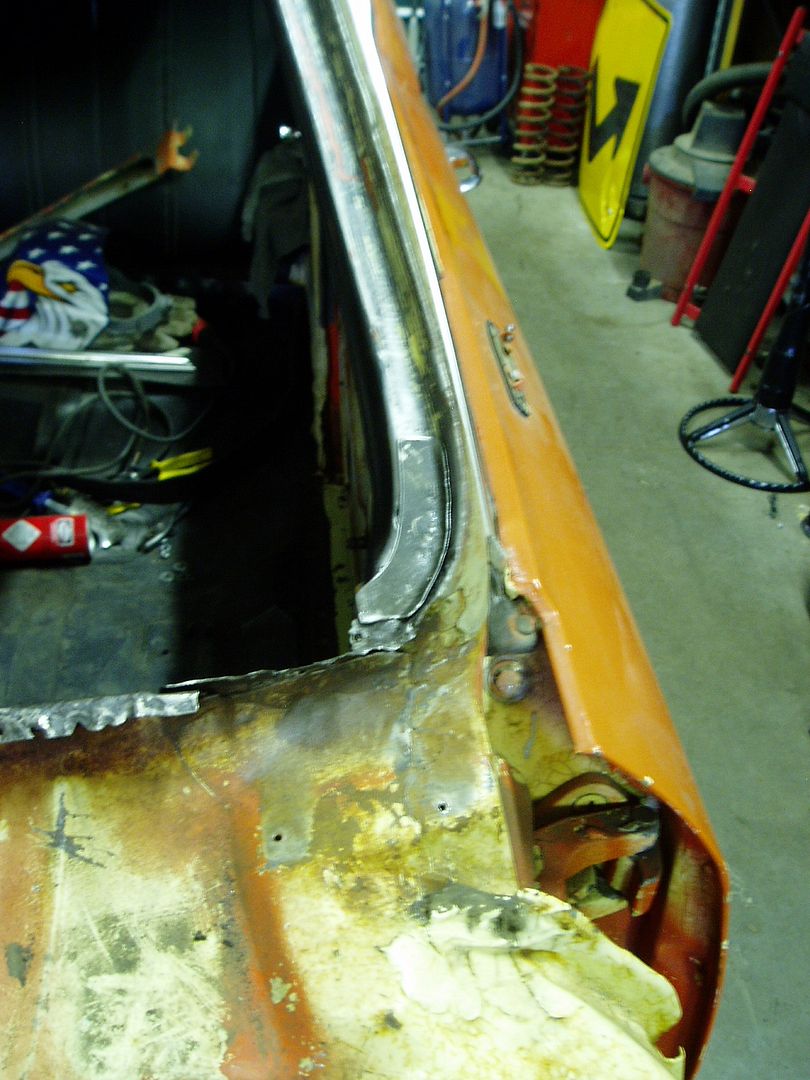
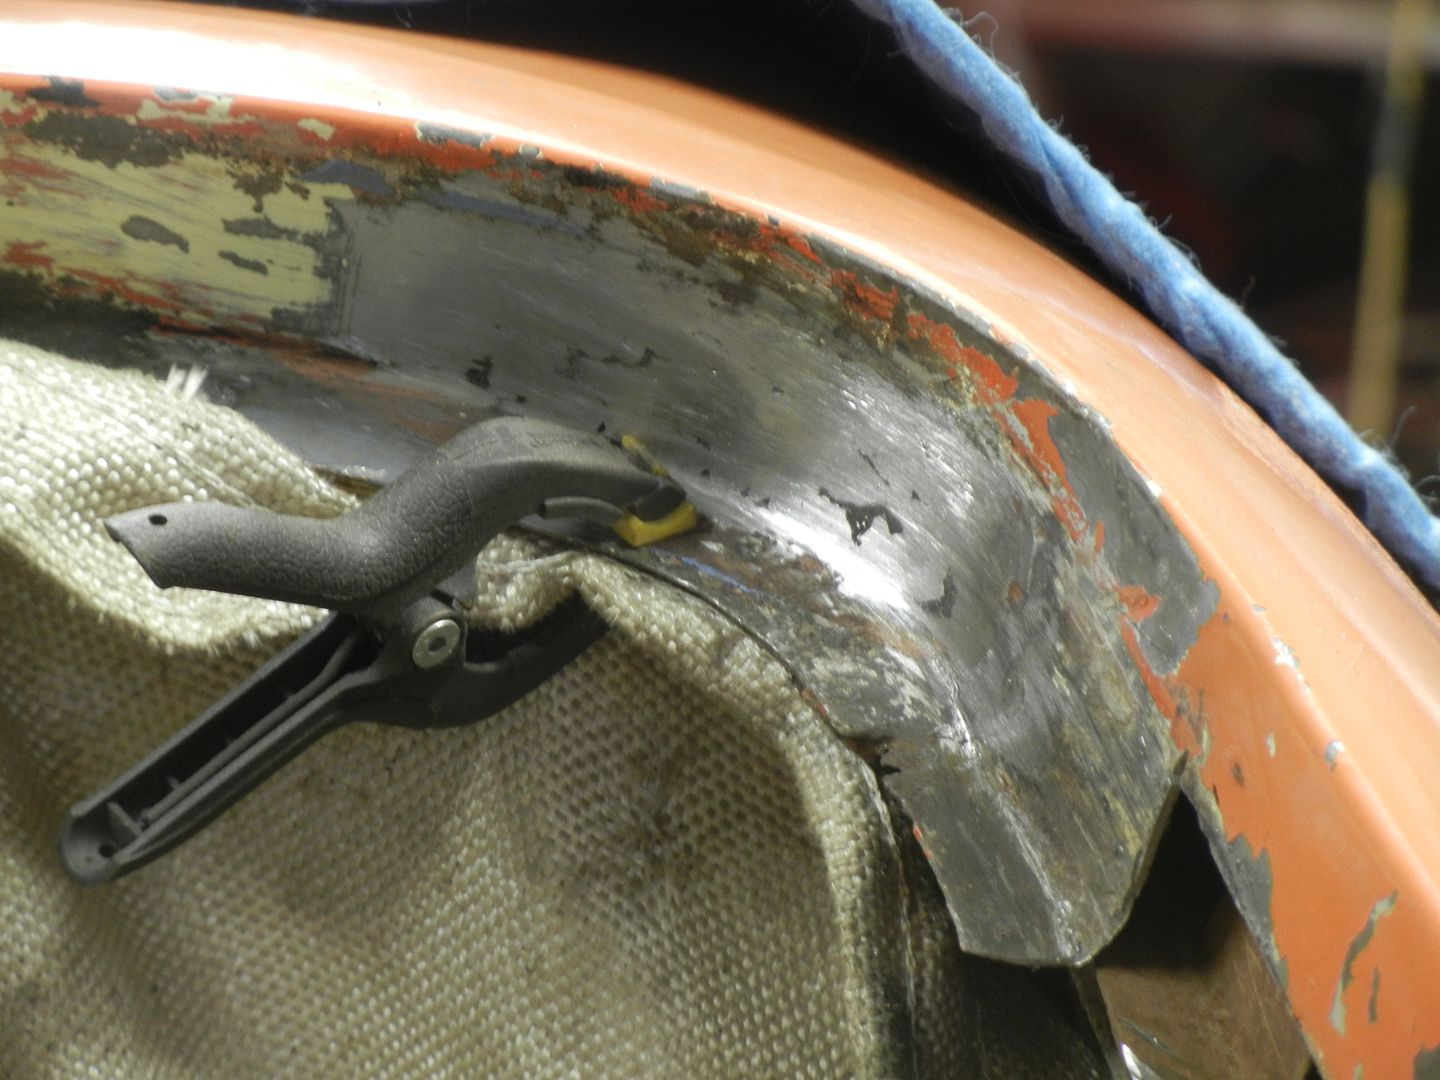
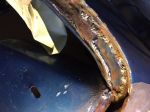
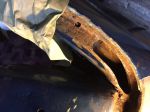
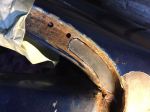
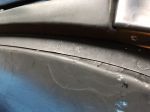
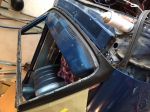
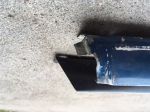
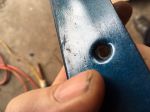
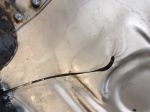
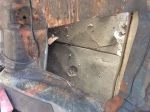
I've been worried about the windshield channel on my '66 for some time, and today decided to tackle the cracked windshield and whatever else lurked under the surface.  Unfortunately, much was lurking.  The glass had been "gooped" in, with both the urethane sealant holding in the glass and about a tube of silicone on top of that, presumably to remedy leaks.  It was an obvious mess. Once I got everything cut away and scraped off, it became clear that the two corner areas of the lower channel were rusted through, and a 3 inch section of the driver's side post had been patched with fiberglass over a gaping hole.  Worse, the upper steel bar across the top of the windshield (this is a convertible) has a significant rust hole on the driver's side behind the chrome stip.  Looks like a fair bit of welding in my future, which is not something I am looking forward to.   I think I have added photos of the carnage below.  Any ingenious tricks for this repair would be welcomed. 


John 


Attachments
__________________

John B. 1966 Malibu Ragtop  327, Tremec 6-speed, 4.11 10-bolt posi.  And ALWAYS a work in progress.


President

Status: Offline
Posts: 7328
Date:
Permalink  
 

Very common problem. I used a rust converter and welded a patch over this.

On the rear, I cut out the rust and made a patch to fit flush.


__________________

Mitch D.   River Falls, WI

Lifetime member of the "Cars apart Club"

1966 Chevelle SS 396 M20

1970 Chevelle SS 396 M20

1967 Camaro SS/RS 350 M20


Active Member

Status: Offline
Posts: 141
Date:
Permalink  
 

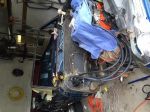
Ugh.  I think I have just met the qualifications for membership in the Cars Apart Club.  Once I started getting the lower channel off, it became clear that I would also need to replace Lucy's a-pillar covers, which means taking off the front fenders, hood, etc. to get at the lower screws.   Who knew a windshield replacement was so involved? Below is a photo of the car this afternoon - missing most of the front clip. 


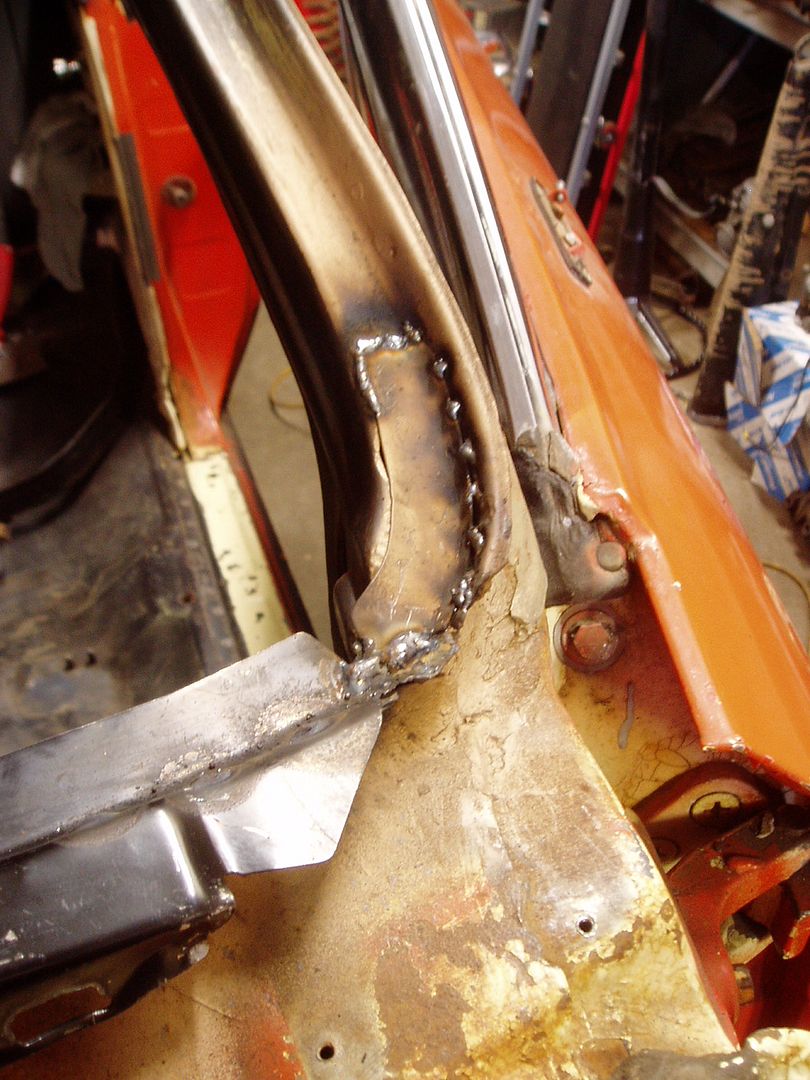
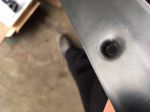
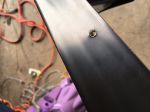
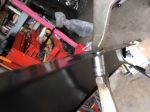
Anyway, I ground out the questionable metal in the pillar itself, made a patch, and  TIg welded it in place.(photos below)  Of course, just as I had it ready to weld, I dropped the patch inside the door pillar and had to run to O'Reilley's for a magnet stick to fish it out.  Some choice words in the garage. 


 The AMD replacement channel arrived today, and I've got the old one completely removed after MUCH spot weld drilling and grinding.  Can't fault the General for under-welding the thing, that's for certain. Unfortunately, the new channel doesn't come with the trim clip studs welded on.  I figure if I can locate them, I'll have to drill holes and weld them on from below, which means I can't install the new channel just yet.  If anyone has another idea, I'm all ears. 


Odd Discovery of the day: at some point, someone replaced an entire square section of the passenger side front fender.  Not just the skin - they actually cut the skin and the stamped inner brace together and welded a new section in. Not the greatest work over the years on the old girl, but that one's downright weird. 

John 


Attachments
__________________

John B. 1966 Malibu Ragtop  327, Tremec 6-speed, 4.11 10-bolt posi.  And ALWAYS a work in progress.


President

Status: Offline
Posts: 7328
Date:
Permalink  
 

These are screws for the trim clips. You can put them on later, but that is a long reach across the dash to get them on straight.

https://www.opgi.com/chevelle/1968/fasteners-hardware/exterior-clips-screws/CH2201/

I thought you were going to patch the lower channel. Lots of work to replace that. I thought the AMD piece came with the studs ??  I have seen channels with them, wonder who sells those ?


__________________

Mitch D.   River Falls, WI

Lifetime member of the "Cars apart Club"

1966 Chevelle SS 396 M20

1970 Chevelle SS 396 M20

1967 Camaro SS/RS 350 M20


Active Member

Status: Offline
Posts: 141
Date:
Permalink  
 

Mitch, I WAS going to patch the lower channel, until I started digging into it. Much more rust there than I had originally seen (isn't there always), and I really don't want to have to do this again, so I opted to replace everything I can. There were pinholes filled with bondo, the the driver's side A-pillar cover had 3/16" of bondo on the lower area; it just kind of fell apart when I was working near it. Summit gets another $160 :(

As for the screws, I know they used them on the top and sides, but assumed that the lower posts were designed to reduce the possibility of rust or leaks. I don't need any more of either, but I may be stuck with that option.

It is a lot of work (you should talk!) but I managed to get the old one off in a matter of hours with a drill and a cutoff wheel. It is all cleaned up, just needs a few bumps hammered down before starting to position the new part. The AMD piece looks good so far, but yeah, the missing studs are a bummer and I would have gladly bought one that had the studs had I known that this one did not. Live and learn. I don't mind so much in that the weather isn't any good for driving her anyways. I will need a couple of good paint days, tho.

John

__________________

John B. 1966 Malibu Ragtop  327, Tremec 6-speed, 4.11 10-bolt posi.  And ALWAYS a work in progress.


President

Status: Offline
Posts: 7328
Date:
Permalink  
 

All the original studs were punched in at the factory like tacks into a board. Nothing different about the lower ones and nothing done, other than the paint, to keep water out.
I use a small amount of body SEALER, not silicone, on the screw threads when installing to ward off water intrusion. Silicone and paint don't mix and the silicone will leach along a surface to where you don't want it.

Finding more rust than anticipated is usually the norm with these undertakings. At least the additional $160 at Summit got free shipping...thumbsup

Yeah, I guess my current avatar indicates I'm in a little deeper than you...laughing


-- Edited by Lost in the 60s on Wednesday 27th of April 2016 08:15:32 PM

__________________

Mitch D.   River Falls, WI

Lifetime member of the "Cars apart Club"

1966 Chevelle SS 396 M20

1970 Chevelle SS 396 M20

1967 Camaro SS/RS 350 M20


Active Member

Status: Offline
Posts: 141
Date:
Permalink  
 

Okay, I ordered the screws from OPGI. If my windshield channel rusts out again in another 50 years, I will look you up in whatever nursing home you're in and demand that you help me fix it :)

__________________

John B. 1966 Malibu Ragtop  327, Tremec 6-speed, 4.11 10-bolt posi.  And ALWAYS a work in progress.


President

Status: Offline
Posts: 7328
Date:
Permalink  
 

Grajmahal wrote:

Okay, I ordered the screws from OPGI. If my windshield channel rusts out again in another 50 years, I will look you up in whatever nursing home you're in and demand that you help me fix it :)


 In 50 years, you'll be looking for a headstone, not a nursing home...laughing


__________________

Mitch D.   River Falls, WI

Lifetime member of the "Cars apart Club"

1966 Chevelle SS 396 M20

1970 Chevelle SS 396 M20

1967 Camaro SS/RS 350 M20


1K+ Club

Status: Offline
Posts: 1198
Date:
Permalink  
 

Looks like our worst fears were realized.
Glad you are committed to doing it right.
If the pillar caps are the same for all 66 a-bodies, I have some extras.

Also do we want to have more communications about the seat?

Karl

__________________

More ambition than brains,

If you have more than 5 of anything, best to stop counting!


President

Status: Offline
Posts: 7328
Date:
Permalink  
 

more ambition than brains wrote:

Looks like our worst fears were realized.
Glad you are committed to doing it right.
If the pillar caps are the same for all 66 a-bodies, I have some extras.

Also do we want to have more communications about the seat?

Karl


 I'm betting he does, but the price probably went up...laughing

When do you want to move lifts ?? I'm done at Centerline for the summer now.


__________________

Mitch D.   River Falls, WI

Lifetime member of the "Cars apart Club"

1966 Chevelle SS 396 M20

1970 Chevelle SS 396 M20

1967 Camaro SS/RS 350 M20


1K+ Club

Status: Offline
Posts: 1198
Date:
Permalink  
 

Sent you a PM.

Between Property closings, building cleaning, and road trips May is mostly full.
Will be pushing into June, hope you can help.
I know the president wanted to "play" too.
Once I have a better feeling on timing we can go more public.

Karl

__________________

More ambition than brains,

If you have more than 5 of anything, best to stop counting!


Active Member

Status: Offline
Posts: 141
Date:
Permalink  
 

I got the new lower channel welded in this afternoon, using the "Mitch method" of securing it with a handful of sheet metal screws first and then welding up one hole at a time.  I also discovered a couple of thin spots on the dash itself, and patched them up before putting on the channel.  Pillar covers should be here tomorrow, and I can start assembling again instead of dis-assembling.  Fingers crossed, not as horrible a job as I had feared.  Getting the fenders and hood all shimmed up and bolted back on may be the bigger hassle. 


As for the bench seat, I am still working on the new buckets that will be replacing it.  Are you in any hurry?


John 


__________________

John B. 1966 Malibu Ragtop  327, Tremec 6-speed, 4.11 10-bolt posi.  And ALWAYS a work in progress.


1K+ Club

Status: Offline
Posts: 1198
Date:
Permalink  
 

Glad things are going well.
No hurry it would go in the White Elky. Very much apart.
Karl

__________________

More ambition than brains,

If you have more than 5 of anything, best to stop counting!


Active Member

Status: Offline
Posts: 141
Date:
Permalink  
 

More progress today, and some lessons learned.

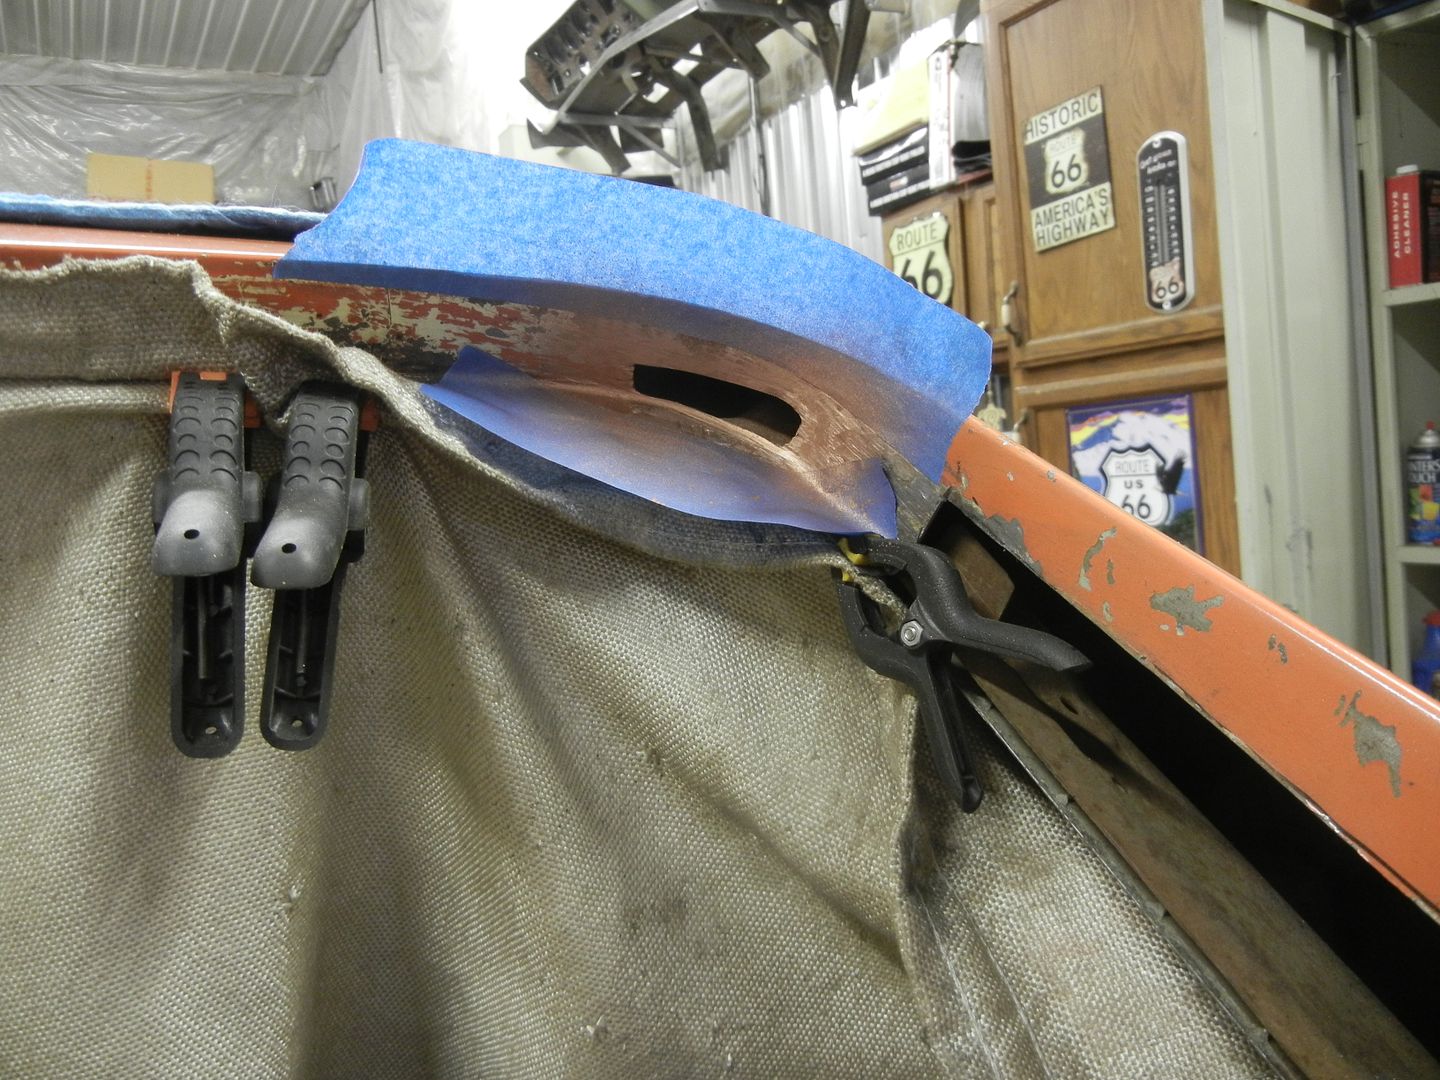
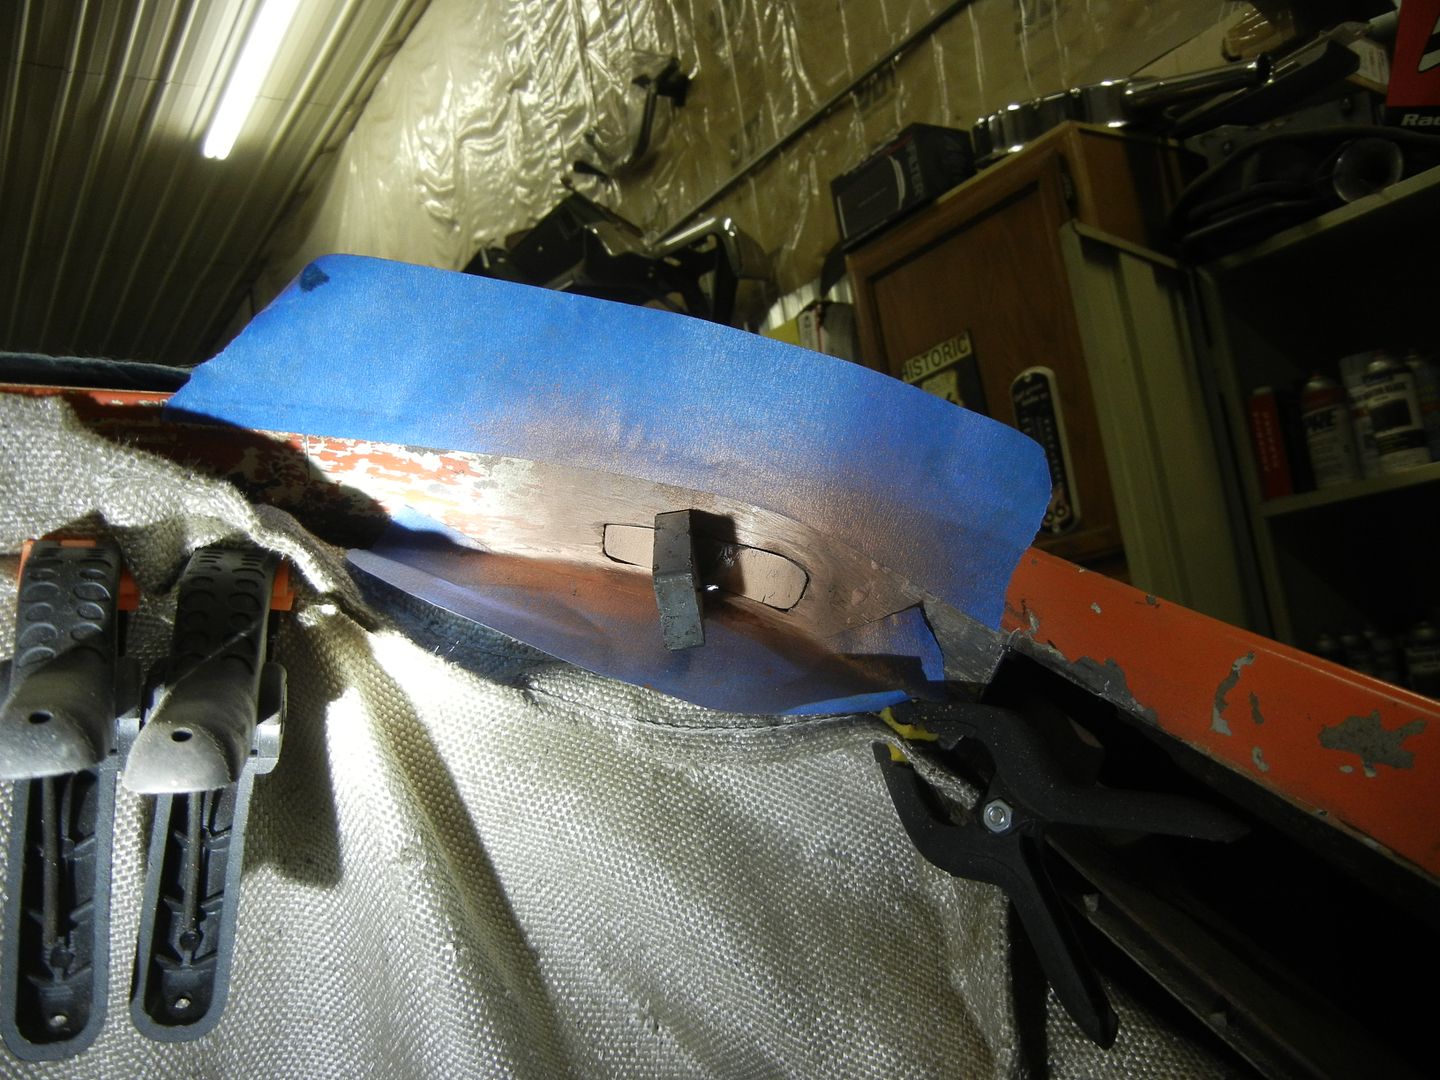
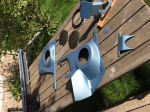
First, I found out the the A-pillar covers are different on Convertibles and hardtops. The convertible ones have a shorter top, with a tab sticking out to tuck under the chrome topping trim. Fortunately, there is enough material on the AMD replacement covers that you can trim them down to work, which is what I did. I'm pretty sure that's what the General did, too.

Second, the replacement covers come pre-drilled for the lower mounting screws, but not counter-sunk to get the screws flush, which is essential because the chrome weatherstrip channel screws to the underside of it. I didn't want to cut a countersink in the tin, because by the time you are done the screw doesn't have any metal left to bite. The factory ones were punched into a cone shape by some kind of press, but the replacements were flat. I came up with a solution of putting a wood screw through the material and a 1/4" socket on the other side, and pressing the screw into the sheetmetal with a vise grip. The result was a dimpled hole very similar to the factory one, and the screw sits perfectly flush in it now.

Finally, the covers sound tinny and rattle when tapped, and rattles are a big pet peeve of mine. So I got a tube of Loc-Tite urethane adhesive/sealant and ran a couple of beads up the inside of the covers before final attachment, in addition to a big glob at the top like the factory did. This made a huge difference, even without curing. The covers feel solid and don't make any noise at all.

Anyhoo, the whole business is now welded, screwed, and primed. If we get some good weather in the next couple of days, I should be painting.

John


Attachments
__________________

John B. 1966 Malibu Ragtop  327, Tremec 6-speed, 4.11 10-bolt posi.  And ALWAYS a work in progress.


2K+ Club

Status: Offline
Posts: 2791
Date:
Permalink  
 

Great idea for "dimpling" the screw hole! (That's one I'll store away).

__________________


John D. - St. Louis Park, MN.

1965 El Camino - LT-1, 4L60e, 4wh discs, SC&C susp.
2013 F-150 Platinum - Twin Turbo 3.5

2018 Factory Five MkIV Roadster build thread


Active Member

Status: Offline
Posts: 141
Date:
Permalink  
 

Thanks John - I was kinda proud of myself there.

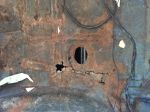
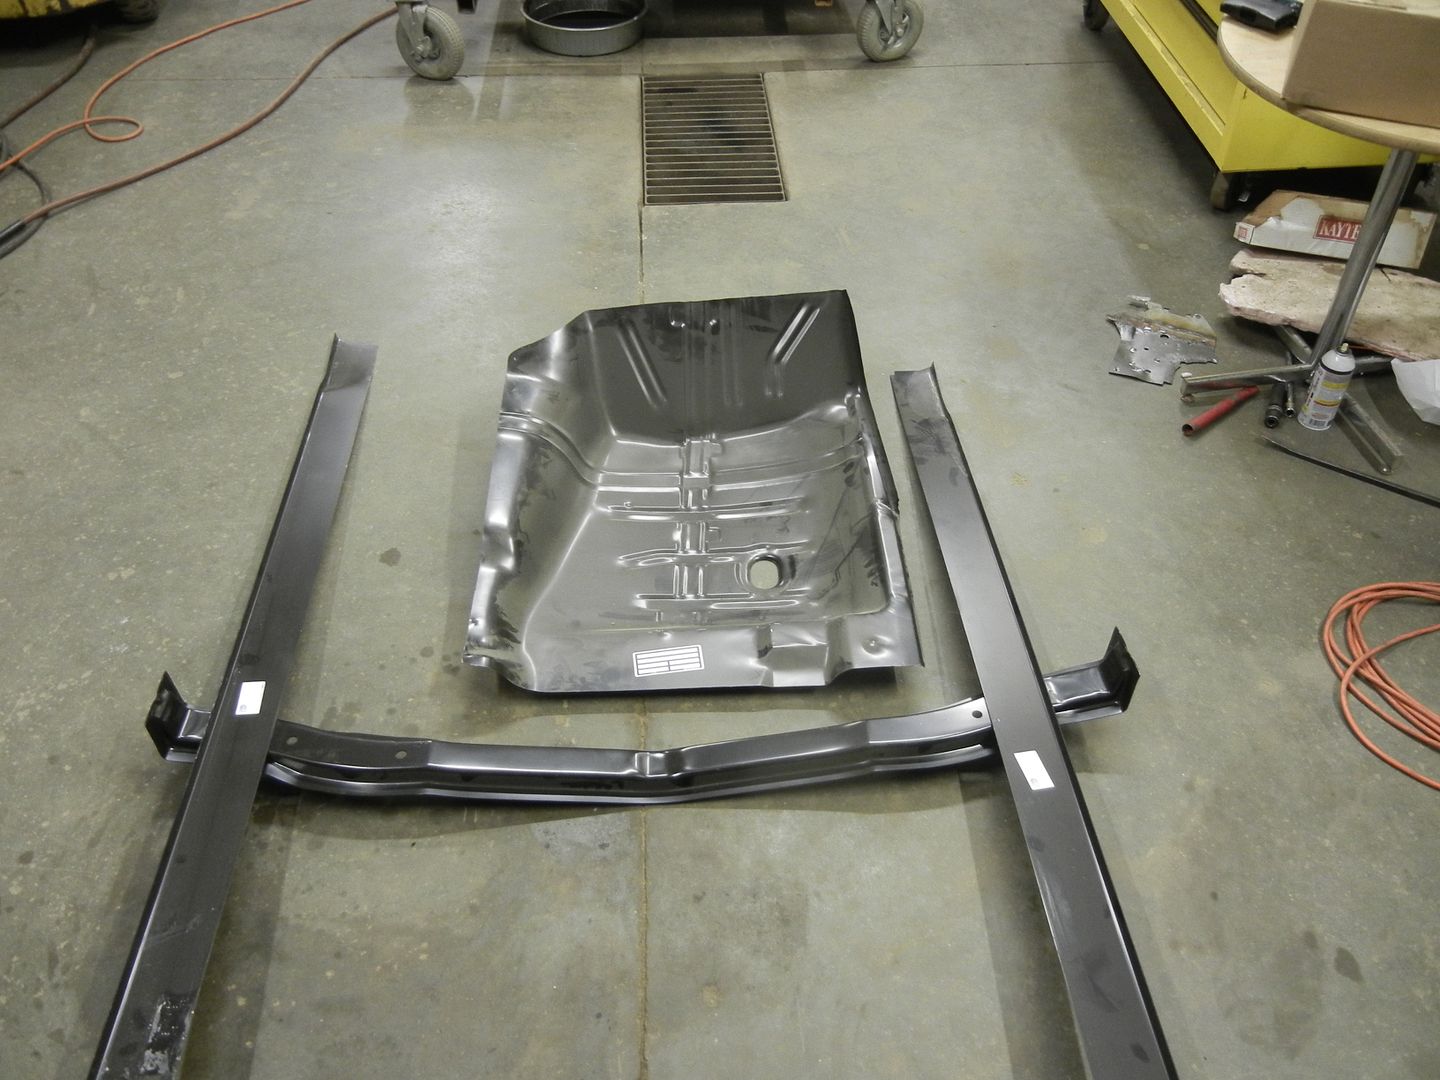
Today the fenders are back on, the new AMD radiator support installed (Old one was so bent that I had 8 washers shimming out the grille bracket). I got the upper steel part of the doors and rear area prepped for paint, as well as the newly stripped and primed dash and the dash top and A-pillars. I pulled out the carpet and LO AND BEHOLD 3 out of 4 of the damn floorpans are rotted through (curiously, the passenger front was intact). I don't care to waste my dynamat and new carpet on weak and leaky floors, but I am thinking that I should have bought stock in Summit before tearing into this project - another $167 for three patch panels goes to Ohio.

As for the A-pillar replacements from AMD- Don't. Not if you can help it, don't. They are not exact reproductions, and particularly the driver's side is not a good fit. I pulled, pushed, cajoled, clamped and massaged, and I am going to have a gap there that is fully 1/16" wider than the rest of the adjacent gaps. Plus, the front corner doesn't line up with the line of the fender because the riser on the original was not reproduced on the replacement. In retrospect, I should have re-used the old ones and welded in a patch. Now I have the new ones glued and screwed in, and the fenders on them, so I will have to live with them, but if you are thinking about buying these parts, your factory ones had better be well beyond repair.

John


__________________

John B. 1966 Malibu Ragtop  327, Tremec 6-speed, 4.11 10-bolt posi.  And ALWAYS a work in progress.


President

Status: Offline
Posts: 7328
Date:
Permalink  
 

$167 for floor pans is dirt cheap. I just bought a new/used 1 piece for my newly acquired '70 at more than 4 times that...clonk

How's the trunk floor ? May as well keep going...stirpot


__________________

Mitch D.   River Falls, WI

Lifetime member of the "Cars apart Club"

1966 Chevelle SS 396 M20

1970 Chevelle SS 396 M20

1967 Camaro SS/RS 350 M20


Active Member

Status: Offline
Posts: 141
Date:
Permalink  
 

NOOO!!! I am not doing the trunk at this point (it has one little hole, otherwise very clean). The $167 was for the patch panels, not the whole floor pan, which I expect is substantially more money and freight. From the photos, it looks like they will take care of the rotted area, which is probably the same area on all of these cars (the lowest point collecting all the water). I expect to be able to cut them down further still to only replace the areas that warrant it.

I have a class in the end of May in Michigan that I am planning to drive this car to, so there is a deadline to getting this all up and back together. I have two buckets to recover as well, so there may be some long days in there.


John


__________________

John B. 1966 Malibu Ragtop  327, Tremec 6-speed, 4.11 10-bolt posi.  And ALWAYS a work in progress.


President

Status: Offline
Posts: 7328
Date:
Permalink  
 

Yeah, the more you look at these old cars, the more you see that needs restoration.

If you get pressed for time, there is always Mark at Yellow Dog for the seats...what the heck, it's only money...dunno


__________________

Mitch D.   River Falls, WI

Lifetime member of the "Cars apart Club"

1966 Chevelle SS 396 M20

1970 Chevelle SS 396 M20

1967 Camaro SS/RS 350 M20


Active Member

Status: Offline
Posts: 141
Date:
Permalink  
 

Mark did an amazing job on my convertible top last year, and he would be my first choice for the seats. I have the covers, the frames, and the foams. What I don't have is the knowhow.  

I got the first coat of basecoat Nantucket blue on the dash, posts, and door tins today. A disappointing amount of fisheye means I am back to the 400 grit tomorrow night to get ready for the next 70 degree day, and going to get an air dryer in case the problem is in my air supply.

The dash isn't too bad, but the door tins are absolutely awful.  Live and learn.  The area above the windshield didn't even get paint, as the cup on my HVLP gun won't allow me to turn the gun upside down without spilling all over everything.  I have an old pressure pot setup somewhere, but that thing puts more paint in the air than on the car. 


John 


Attachments
__________________

John B. 1966 Malibu Ragtop  327, Tremec 6-speed, 4.11 10-bolt posi.  And ALWAYS a work in progress.


President

Status: Offline
Posts: 7328
Date:
Permalink  
 

Don't you have a screw on lid for the cup ? A piece of tape over the bleed hole for a minute won't hurt and it should keep the paint in.

Get a disposable desiccant cartridge that screws on the end of the gun for water.

Dash looks awesome. Clean the tins thoroughly with wax and grease remover after sanding again.

Should be 70 tomorrow.

__________________

Mitch D.   River Falls, WI

Lifetime member of the "Cars apart Club"

1966 Chevelle SS 396 M20

1970 Chevelle SS 396 M20

1967 Camaro SS/RS 350 M20


Active Member

Status: Offline
Posts: 141
Date:
Permalink  
 

I don't have a lid for the cup, but I suppose I could 'fabricate' one out of duct tape or something. I would be worried that I'd run out of paint before finishing the run along the windshield, and get a bunch of ugly spatter. Worth a try, tho.

JB

__________________

John B. 1966 Malibu Ragtop  327, Tremec 6-speed, 4.11 10-bolt posi.  And ALWAYS a work in progress.


President

Status: Offline
Posts: 7328
Date:
Permalink  
 

Grajmahal wrote:

I don't have a lid for the cup, but I suppose I could 'fabricate' one out of duct tape or something. I would be worried that I'd run out of paint before finishing the run along the windshield, and get a bunch of ugly spatter. Worth a try, tho.

JB


 Yeah, you're going to have to spin it back and forth to keep the paint flowing. Turning the tip for a horizontal pattern, rather than vertical, will help get the paint where you need it too.


__________________

Mitch D.   River Falls, WI

Lifetime member of the "Cars apart Club"

1966 Chevelle SS 396 M20

1970 Chevelle SS 396 M20

1967 Camaro SS/RS 350 M20


2K+ Club

Status: Offline
Posts: 2739
Date:
Permalink  
 

Grajmahal wrote:

More progress today, and some lessons learned.

First, I found out the the A-pillar covers are different on Convertibles and hardtops. The convertible ones have a shorter top, with a tab sticking out to tuck under the chrome topping trim. Fortunately, there is enough material on the AMD replacement covers that you can trim them down to work, which is what I did. I'm pretty sure that's what the General did, too.


John, might the A-pillar covers for a convert be the same as for a 4 dr ht?  I know the window vent assemblies for the 4 dr ht are about a 1/2" shorter than the 2 dr ht.

John


__________________

Jim L

Lake City


2K+ Club

Status: Offline
Posts: 2739
Date:
Permalink  
 

Grajmahal wrote:


As for the A-pillar replacements from AMD- Don't. Not if you can help it, don't. They are not exact reproductions, and particularly the driver's side is not a good fit. I pulled, pushed, cajoled, clamped and massaged, and I am going to have a gap there that is fully 1/16" wider than the rest of the adjacent gaps. Plus, the front corner doesn't line up with the line of the fender because the riser on the original was not reproduced on the replacement. In retrospect, I should have re-used the old ones and welded in a patch. Now I have the new ones glued and screwed in, and the fenders on them, so I will have to live with them, but if you are thinking about buying these parts, your factory ones had better be well beyond repair.

John


 Might the 4dr ht A-pillars be the same as for the 2 dr convert?  Again because of the 1/2" difference in might between the 4dr ht and the 2 dr ht.


__________________

Jim L

Lake City


Active Member

Status: Offline
Posts: 141
Date:
Permalink  
 

Jim, I gather that the A-pillar covers are a little shorter because there is a chrome piece that makes up the top corner of the windshield that reaches down the pillar cover about an inch, and the tin covers have to fit under that chrome cover. I managed to cut them down using the old ones as a pattern, but like I say, the new ones are not a great fit and will require some massaging to make the gaps uniform.

No progress today because of a big day at work, but with any luck I can be painting again tomorrow with my new filter, dryer, and sipon-feed detail gun.

John

__________________

John B. 1966 Malibu Ragtop  327, Tremec 6-speed, 4.11 10-bolt posi.  And ALWAYS a work in progress.


Active Member

Status: Offline
Posts: 141
Date:
Permalink  
 

Progress! It was a perfect 70 degree, no wind low humidity day, so I took the afternoon off to get some paint on.  I think it is telling that the first four letters of paint are P-A-I-N.   The upside down issue I solved by buying a $29 Husky detail gun at the Home Depot, which has a dinky little suction paint cup and easily paints upside down for a second or so.  I shot the whole project with this gun, which while it does generate a LOT more overspray than an HVLP gun, is also pretty easily handled in tight spaces.  

The fisheye problem did not return, probably a result of the filter and drier (Again from the Home Depot) that I put in the line at Mitch's suggestion.  The paint laid on nicely, and the clearcoat as well.   I did four coats of the metallic color and three coats of clear, using the XL Hot Rod Clear product.  I know that the interior tin on these cars was not glossy, but I didn't want it to be totally flat either.  Turns out that the sheen of this stuff can be tailored just based on how much activator you put in the mix.  6 to 1 clear and you have flat, 5 to one you have eggshell, and 4 to 1 you get semi-gloss.  I opted for the semi-gloss, which turned out to look (I think) roughly like the factory finish did.  I didn't mix up any flat for the top of the dash, which is where the General and I part company.  Too much F*&^%ing around for one little area to have a different gloss than the rest.  I'll take my chances with 'glare' ( the least of my problems where my dash pad is light blue and I see it reflected in the windshield better than I see traffic) 

Things are curing out in the garage and I am figuring out how I am going to get those floor pans in over the weekend.   Pics below. 


Attachments
__________________

John B. 1966 Malibu Ragtop  327, Tremec 6-speed, 4.11 10-bolt posi.  And ALWAYS a work in progress.


President

Status: Offline
Posts: 7328
Date:
Permalink  
 

Looking excellent, John....semi-gloss is the right sheen.

Can you come paint the bottom of my Chevelle when it's ready this summer...laughing


__________________

Mitch D.   River Falls, WI

Lifetime member of the "Cars apart Club"

1966 Chevelle SS 396 M20

1970 Chevelle SS 396 M20

1967 Camaro SS/RS 350 M20


Active Member

Status: Offline
Posts: 141
Date:
Permalink  
 

Mitch, I'm in. I think my painting skills are about up to par for undercoating your floor pans :) I start welding mine in tomorrow, so maybe we can do a joint shoot - although mine won't be in a rotisserie. I'll be driving it in and driving it out.

John

__________________

John B. 1966 Malibu Ragtop  327, Tremec 6-speed, 4.11 10-bolt posi.  And ALWAYS a work in progress.


Active Member

Status: Offline
Posts: 141
Date:
Permalink  
 

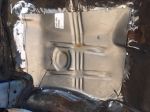
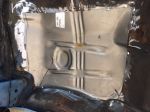
Floor pans installed. 

I had a whole day to work on the car today, which is a pretty nice treat.  I cut out the rusty areas in the floors with a cutoff wheel,  cut the new panels down to roughly an inch wider than the holes on all sides, and welded everything up.  I used the Mitch Method again with the lath screws, this time putting them only into the old metal with the heads overlapping the edge of the new metal.  This makes for a little more adjustability of the panel before welding. 

I had picked up a teeny little TIG from Eastwood last year, which worked great for welding the panels in (I don't have a MIG and I've never been a big fan of them anyway). I tacked all the way around, and then followed with beads around about 80% of the seam area.  I contemplated cutting perfect replacement panels and butt-welding, but as this is never going to be a show car, I wound up just welding in an overlapping panel. I'd really rather drive it than have someone crawling around under it anyway. 

One irksome thing (and perhaps why the panels were inexpensive) was that the new panels had an elongated hole in them where the most severe bends are.  I suspect that this is required to get the bend, but I really wasn't prepared to have to weld patch panels onto my patch panels. 

I finished the day by gloppoing it up with seamsealer (or, actually, Loc-Tite urethane adhesive sealant in a caulk gun, which is as close as I can get my hands on).   Photos below.  PS if someone can school me on how to get the big photos on here, I'd be grateful. 


Attachments
__________________

John B. 1966 Malibu Ragtop  327, Tremec 6-speed, 4.11 10-bolt posi.  And ALWAYS a work in progress.


President

Status: Offline
Posts: 7328
Date:
Permalink  
 

I've never seen pans like that before either !! Those look like the bargain basement replacement.

Here's a pic of the passenger front I got from Summit.


I use photobucket to load pics on here. You can turn your phone pics the right way on the bucket editor too.


__________________

Mitch D.   River Falls, WI

Lifetime member of the "Cars apart Club"

1966 Chevelle SS 396 M20

1970 Chevelle SS 396 M20

1967 Camaro SS/RS 350 M20


Active Member

Status: Offline
Posts: 141
Date:
Permalink  
 

My front looked like that , but both the rears had the gap - I got them from Summit as well, and did not see any alternative on their website that might be a better piece. I made a little cap for the gap and welded it on, but what an un-necessary pain in the neck. I will look into Photobucket.

I picked up some original bucket seats and a re-upholstery kit for them, and Summit supplied two installation brackets. Unfortunately, they don't tell you how many seats one set covers. I had assumed (!) that the outboard holes were the same, and one bracket would be required for each seat; two brackets = both seats. Unfortunately, two of the brackets are required for each seat, and the brackets that Summit had really aren't the same as the factory mounts. ss396 has the correct kit, and it includes enough for both seats, so it is now on the way. The final welding will have to wait for a few days.

John

__________________

John B. 1966 Malibu Ragtop  327, Tremec 6-speed, 4.11 10-bolt posi.  And ALWAYS a work in progress.


Active Member

Status: Offline
Posts: 141
Date:
Permalink  
 

Mitch, do you or anyone you know have a source for the little cone-shaped nylon nuts that hold the upper dashboard screws on these cars? I am missing only one, but I don't want to reinstall the dash without it. I haven't been able to find them at the ordinary parts sites, and the dash is itching to go back in.

John

__________________

John B. 1966 Malibu Ragtop  327, Tremec 6-speed, 4.11 10-bolt posi.  And ALWAYS a work in progress.


President

Status: Offline
Posts: 7328
Date:
Permalink  
 

No, I've halfheartedly looked for them in the past too and they don't seem to be available. I've tried removing the old ones from other sources, but they are usually brittle and break.

I wonder if Denny at Auto City has come upon a source ?


__________________

Mitch D.   River Falls, WI

Lifetime member of the "Cars apart Club"

1966 Chevelle SS 396 M20

1970 Chevelle SS 396 M20

1967 Camaro SS/RS 350 M20


Active Member

Status: Offline
Posts: 141
Date:
Permalink  
 

Karl, that seat is out and waiting to be carried away to its new home.   When can you swing by?

John 


__________________

John B. 1966 Malibu Ragtop  327, Tremec 6-speed, 4.11 10-bolt posi.  And ALWAYS a work in progress.


President

Status: Offline
Posts: 7328
Date:
Permalink  
 

I had a "DUH" moment out in the shop a while ago. I forgot about a Gear Vendors overdrive unit as a viable alternative to a 6 speed. Not much difference in cost but a whole world of difference in installation. No hydraulic clutch, (which I personally don't care for the feel of), no major butchery of the tunnel, possibly a bit of "relieving" of the tunnel at the unit. The console will still mount the same. You can "split" all the trans gears and have 8 different ratios to choose from and with your current 3.08 gear ratio, you will drop rpm for cruising.
Just something to think about...headscratch

http://www.gearvendors.com/hrgm4sm.html   


__________________

Mitch D.   River Falls, WI

Lifetime member of the "Cars apart Club"

1966 Chevelle SS 396 M20

1970 Chevelle SS 396 M20

1967 Camaro SS/RS 350 M20


1K+ Club

Status: Offline
Posts: 1198
Date:
Permalink  
 

Hi John,

Heading down to jackpot Junction for several days. The "Fab Four" is playing there on Saturday.

After that the "move" begins.

We never did resolve the trade/economic/barter/$$$ issue.

Do you have my Cel#?

61two-three84-547seven

__________________

More ambition than brains,

If you have more than 5 of anything, best to stop counting!


1K+ Club

Status: Offline
Posts: 1198
Date:
Permalink  
 

P.S. I do have the black plastic dash button/retainer you need, that can be a start.

I have parted multiple 66 cars too.

I am sure there are other things I can help with.


Karl


-- Edited by more ambition than brains on Wednesday 18th of May 2016 08:02:05 PM

__________________

More ambition than brains,

If you have more than 5 of anything, best to stop counting!


Active Member

Status: Offline
Posts: 141
Date:
Permalink  
 

Thanks Karl. My newly-recovered seats are back from Yellow Dog, so the bench is just in the way now; come and get 'er when you can

I improvised on the dash fastener with a speed nut, but I am in need of a good non-AC heater control to use with the Vintage Air setup that is now in the car. One of the levers in mine had been "repaired" at some point with Jb-weld. Needless to say, it didn't hold. I also have a radiator overflow tank bracket, good windshield trim, and a wiper motor on my wish list, in case any of those happen to be taking up room in your shop.

Mitch, I never even looked at that option, which was probably foolish of me. As it stands, the Tremec kit is being delivered tomorrow, so I guess I am committed. I'm with you in the hydraulic clutch, but the effort required and the inevitable chatter associated with a mechanical setup make it an alternative attractive for a guy who is now pulling 50. My knees ain't what they once was. And, I could never get the squeak out of the pedal, which annoyed me no end.

I got the finished dash installed today, after much frustration with getting the paint finished. Then, what do I do when installing? Of course, I add the final flair of a giant scratch while installing the knee-knocker. Honestly, I had painted that damn dash 12 times before I could live with it. I almost cried. ( what I actually did was to hit the table with my rat-tail file and yell "F@ck" for about 30 seconds) I am now resigned to the fact that I am not supposed to have a perfect dash. I left it in, scratch and all. You can't see it from the driver's seat with the tach installed, which is some small comfort.

John

__________________

John B. 1966 Malibu Ragtop  327, Tremec 6-speed, 4.11 10-bolt posi.  And ALWAYS a work in progress.


1K+ Club

Status: Offline
Posts: 1198
Date:
Permalink  
 

You should probably find some time to come to the Saint Paul building and do some "shopping" I can help!
Sooner the better, as when I move it a lot of stuff will be piled for the next year or so

Your picture showed an A/C dash, isn't the hole different size for the non air control?
I think the a/c controller needs a larger hole.
I do have both.

I have multiples of w/s motors and lots of w/s trim.

Only need enough trim for two more cars, the blue Elky is together.

When we sort I may have some already polished.


Karl


-- Edited by more ambition than brains on Thursday 19th of May 2016 07:00:11 AM

__________________

More ambition than brains,

If you have more than 5 of anything, best to stop counting!


President

Status: Offline
Posts: 7328
Date:
Permalink  
 

more ambition than brains wrote:

You should probably find some time to come to the Saint Paul building and do some "shopping" I can help!
Sooner the better, as when I move it a lot of stuff will be piled for the next year or so

Your picture showed an A/C dash, isn't the hole different size for the non air control?
I think the a/c controller needs a larger hole.
I do have both.
Karl


 Yep, A/C hole is wider. Vintage should be able to use existing A/C controls and convert the levers to solenoid. If you have a broken lever, replacements are available, or Karl may have a control.


__________________

Mitch D.   River Falls, WI

Lifetime member of the "Cars apart Club"

1966 Chevelle SS 396 M20

1970 Chevelle SS 396 M20

1967 Camaro SS/RS 350 M20


1K+ Club

Status: Offline
Posts: 1198
Date:
Permalink  
 

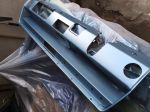
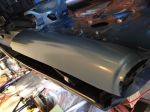
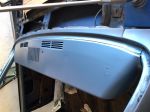
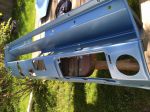
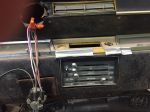
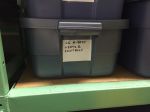
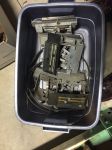
IMG_2271.JPGIMG_2272.JPGIMG_2273.JPGIMG_2274.JPGWas at storage building, some photos!

Gotcha covered!

Karl


Attachments
__________________

More ambition than brains,

If you have more than 5 of anything, best to stop counting!


Active Member

Status: Offline
Posts: 141
Date:
Permalink  
 

Quite the selection! I have a non-as dash, it just looks av because I cut the holes for the vintage air vents ( which are trash, by the way, so if you have a couple good originals I would be interested in taking a look at those too)

When can I swing by the toybox and shop? .john

__________________

John B. 1966 Malibu Ragtop  327, Tremec 6-speed, 4.11 10-bolt posi.  And ALWAYS a work in progress.


1K+ Club

Status: Offline
Posts: 1198
Date:
Permalink  
 

Back in town next week Wednesday.
Call me then!
Karl

__________________

More ambition than brains,

If you have more than 5 of anything, best to stop counting!

Page 1 of 1  sorted by
 
Quick Reply

Please log in to post quick replies.

Chatbox
Please log in to join the chat!